Add Google Login to your React Project


Today we are going to learn how to add google login in our react app.
1. Create React App
First lets create our react, run this command in your terminal and wait for the process to complete.
npm create-react-app react-google-login
After successfully creating your app run -
cd react-google-login
and finally to start our app run -
npm start
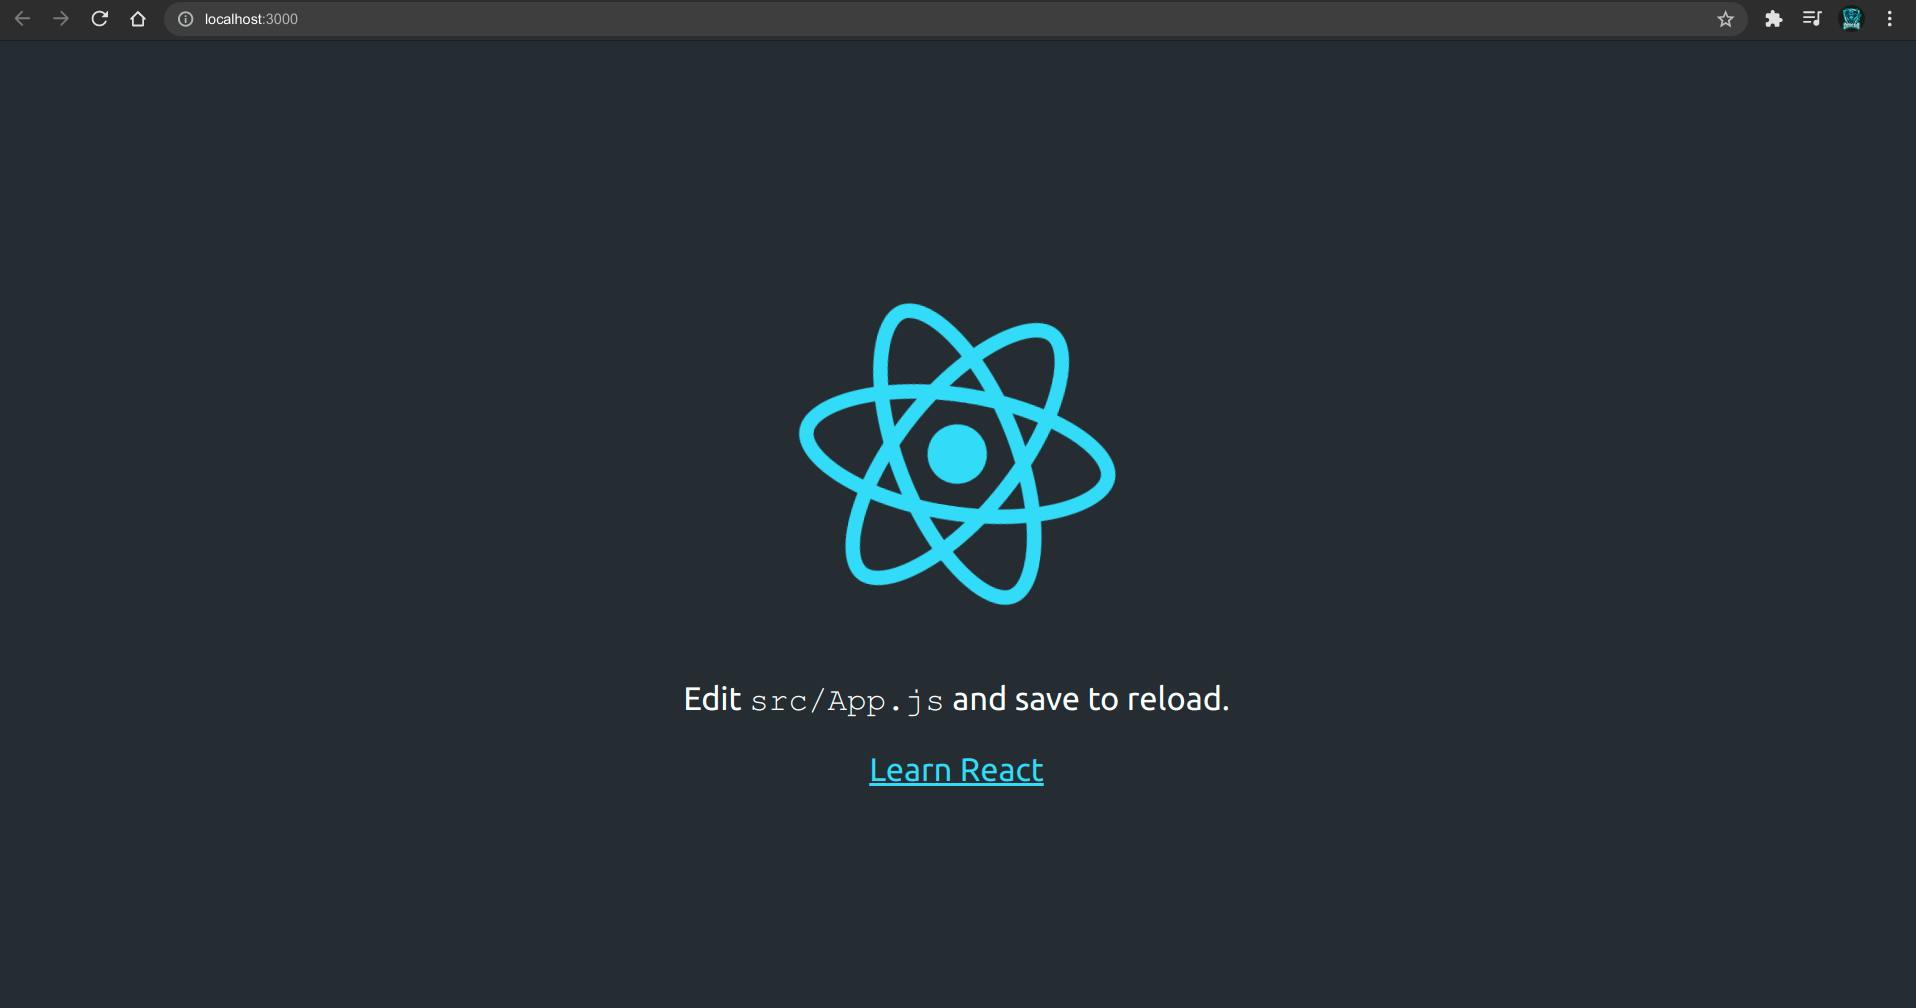
You will be greeted with the screen shown below.
2. Create a project on Google Cloud Console
Before hopping into the code itself, let's create a project on google cloud console and obtain our client_id which is required to authenticate our app with google.
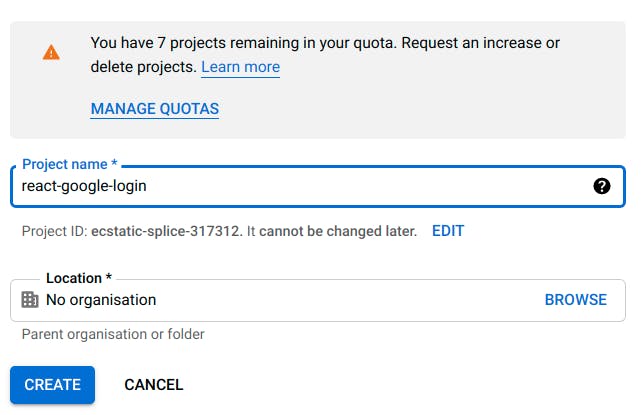
Go to https://console.cloud.google.com/apis/dashboard and log in using your google account if not already logged in and Create a new project.
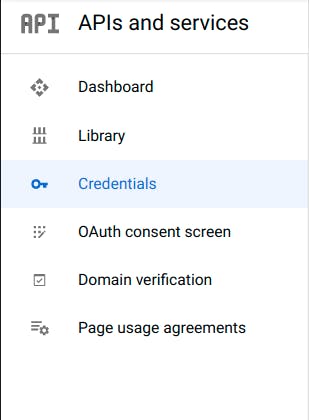
After successful creation of your project go to Credentials from left menu.
Now Click on Create Credentials Button on top and select OAuth client ID.

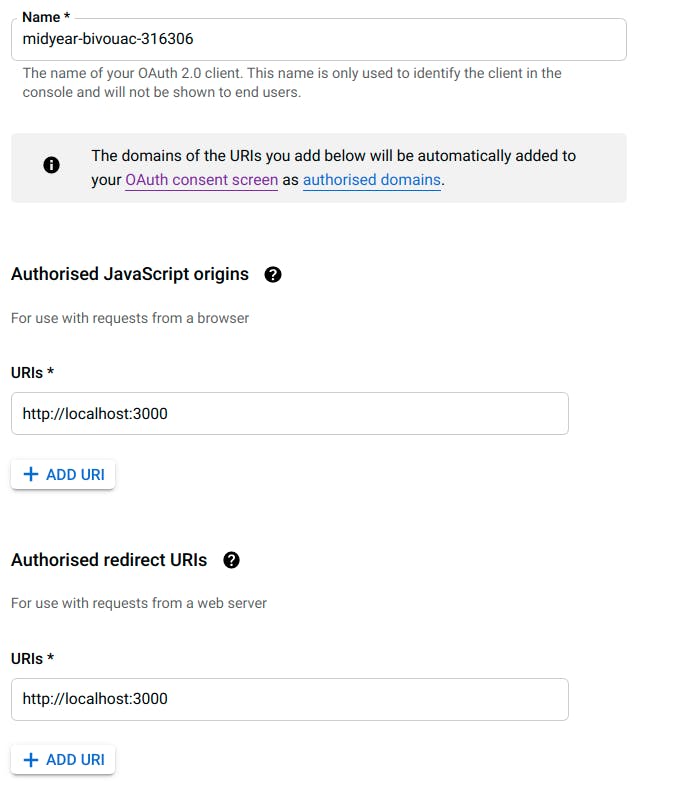
Now select Web Application as Application Type. And enter project id in the name field. And in both the URI fields of Authorised JavaScript Origins and Authorised Redirect URI's enter the url of your local server which in my case is http://localhost:3000. And Click Create.
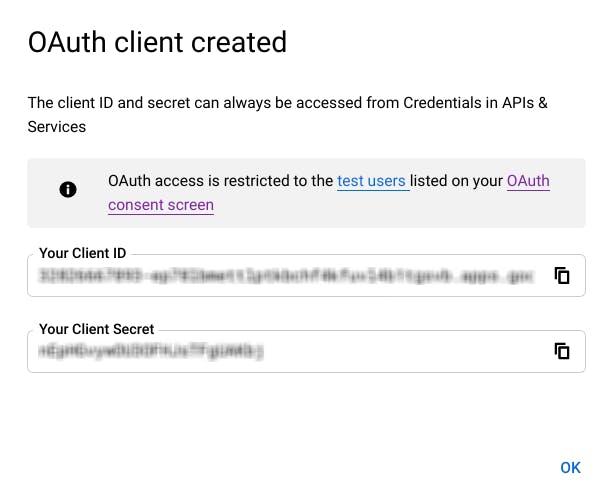
After success, a popup will apper with your cliend_id and your client_secret which we can use in our app.
3. Cleaning Boilerplate, adding .env, installing dependencies
Now that we have acquired the stuff that we need let's hop on to the code. Open the folder "react-google-login" which we created earlier in a code editor of your choice.
In file App.js, clear all the boiler-plate as shown below.
// In App.js
import './App.css';

function App() {
  return <div className="App"></div>;
}

export default App;
Now we have to install react-google-login dependency. Open your terminal in the same folder as your project and run -
npm install react-google-login
Now let's create an environment variable in your src folder to store our client id. Create a file named .env inside /src and store your client_id in a variable named GOOGLE_CLIENT_ID as shown below.
// in .env file
REACT_APP_GOOGLE_CLIENT_ID='YOUR GOOGLE CLIENT ID'
remember to restart your local react server after making changes in .env file.
4. React Google Login Component
Now, in App.js file import react-google-login component and also extract our client_id from the environment variable outside App function as shown below -
// App.js
import React from 'react';
import './App.css';
import { GoogleLogin } from 'react-google-login';

const client_id = process.env.REACT_APP_GOOGLE_CLIENT_ID;

function App() {
  return (
    <div className="App">
      <h1>React Google Login</h1>
    </div>
  );
}

export default App;
Now, render Google Login component below h1 tag.
// App.js
import React from 'react';
import './App.css';
import { GoogleLogin } from 'react-google-login';

const client_id = process.env.REACT_APP_GOOGLE_CLIENT_ID;

function App() {
   return (
    <div className="App">
      <h1>React Google Login</h1>
      <GoogleLogin
        clientId={client_id}
        buttonText="Login"
        cookiePolicy={'single_host_origin'}
      />
    </div>
  );
}

export default App;
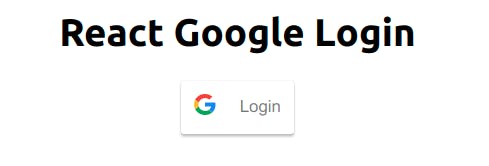
Resulting will be a google login button, which when clicked will open a window to select your google account.
5. Handling Response from Google
However, above code will not handle the response which we get from google. So let's create a function called responseGoogle to handle the response we get from google after providing our google account, and pass this function as props to our google login component.
Resulting App.js fill will look like this -
// App.js
import React from 'react';
import './App.css';
import { GoogleLogin } from 'react-google-login';

const client_id = process.env.REACT_APP_GOOGLE_CLIENT_ID;

function App() {
  const responseGoogle = (res) => {
    console.log(res);
  };

  return (
    <div className="App">
      <h1>React Google Login</h1>
      <GoogleLogin
        clientId={client_id}
        buttonText="Login"
        onSuccess={responseGoogle}
        onFailure={responseGoogle}
        cookiePolicy={'single_host_origin'}
      />
    </div>
  );
}

export default App;
Now everytime you log in, all the data from the google will be logged into your browser console.
Note - If you encounter any error such as "idpi initialization failed" or "popup closed by user" after logging with your google account, go to the google console and delete your existing client id and create a new OAuth Client ID and update your .env with new client_id and restart your server. The error should be resolved.
6. Automatic Sign In
If you want to add automatic sign in functionality to your app, you can add an isSignedIn prop to your google login component and set it's value to true as shown below.
      <GoogleLogin
        clientId={client_id}
        buttonText="Login"
        onSuccess={responseGoogle}
        onFailure={responseGoogle}
        cookiePolicy={'single_host_origin'}
        isSignedIn={true}
      />
Now after first login every time you open your app, you will be automatically logged in without clicking on the Login Button. As you can see below.

7. Logout Functionality
We can destructure GoogleLogout component from 'react-google-login' same as we destructured GoogleLogin component at the top of App.js .
import { GoogleLogin, GoogleLogout } from 'react-google-login';
And we can render this component by passing only three props i.e. clientID , buttonText and onLogoutSuccess , where onLogoutSuccess is a required prop and it will accept a function which would be called after successfully logging out (It can be any function). Therefore our App.js becomes -
// App.js
import React from 'react';
import './App.css';
import { GoogleLogin, GoogleLogout } from 'react-google-login';

const client_id = process.env.REACT_APP_GOOGLE_CLIENT_ID;

function App() {
  const responseGoogle = (res) => {
    console.log(res);
  };

  const logout = () => {
    console.log('Successfully Logged Out');
  };

  return (
    <div className="App">
      <h1>React Google Login</h1>
      <GoogleLogin
        clientId={client_id}
        buttonText="Login"
        onSuccess={responseGoogle}
        onFailure={responseGoogle}
        cookiePolicy={'single_host_origin'}
        isSignedIn={true}
      />
      <GoogleLogout
        clientId={client_id}
        buttonText="Logout"
        onLogoutSuccess={logout}
      />
    </div>
  );
}

export default App;
8. A Little bit of beautification
Currently both our login and logout buttons are visible always whether the user is logged in or not. And that does not look good does it. So let's just fix it.
Let's import useState hook from react and define the current state of the user i.e. whether the user is logged in or not.
so, our top react import should look like this -
import React, { useState } from 'react';
and add this line at the top of our App function -
const [isLoggedIn, setIsLoggedIn] = useState(false);
Now, we will modify our responseGoogle function so that when the user succesfully logs in our our isLoggedIn variable should be true and if the user logs out our isLoggedIn variable should be false .
So our responseGoogle function becomes -
const responseGoogle = (res) => {
    console.log(res);
    if (res.accessToken) {
      setIsLoggedIn(true);
    }
  };
And similarly logout function becomes -
const logout = () => {
    console.log('Successfully Logged Out');
    setIsLoggedIn(false);
  };
Now let's display the Login and Logout buttons conditionally so that if the user is logged out only Login Button is displayed and if the user is logged in only Logout Button is displayed.
for that we will use a ternary operator as shown below -
// App.js
import React, { useState } from 'react';
import './App.css';
import { GoogleLogin, GoogleLogout } from 'react-google-login';

const client_id = process.env.REACT_APP_GOOGLE_CLIENT_ID;

function App() {
  const [isLoggedIn, setIsLoggedIn] = useState(false);

  const responseGoogle = (res) => {
    console.log(res);
    if (res.accessToken) {
      setIsLoggedIn(true);
    }
  };

  const logout = () => {
    console.log('Successfully Logged Out');
    setIsLoggedIn(false);
  };

  return (
    <div className="App">
      <h1>React Google Login</h1>
      {isLoggedIn ? <p>User is Logged In</p> : <p>User Is Logged Out</p>}
      {isLoggedIn ? (
        <GoogleLogout
          clientId={client_id}
          buttonText="Logout"
          onLogoutSuccess={logout}
        />
      ) : (
        <GoogleLogin
          clientId={client_id}
          buttonText="Login"
          onSuccess={responseGoogle}
          onFailure={responseGoogle}
          cookiePolicy={'single_host_origin'}
          isSignedIn={true}
        />
      )}
    </div>
  );
}

export default App;
Now Our app looks like this -

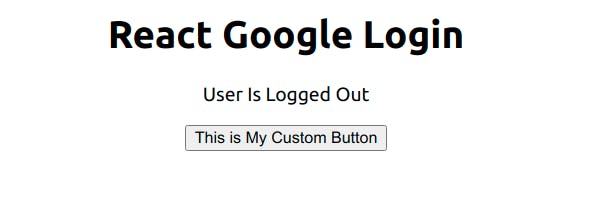
9. Custom Google Login/Logout Button
If you want a custom button for Login and Logout, we can pass our custom button in using render prop. As shown below -
        <GoogleLogin
          clientId={client_id}
          buttonText="Login"
          onSuccess={responseGoogle}
          onFailure={responseGoogle}
          cookiePolicy={'single_host_origin'}
          isSignedIn={true}
          render={(renderProps) => (
            <button
              onClick={renderProps.onClick}
              disabled={renderProps.disabled}
            >
              This is My Custom Button
            </button>
          )}
        />
If you wan you can customize logout button similarly.
That's all folks.
You can Find the repository here.
If any queries feel free to contact me via my socials given below.